Anyone who is physically active and has experienced a sports related injury or setback knows that it can feel like the end of the world when they are recommended to rest and wait for their body to recover. When this occurs, muscles are constrained in a cast, or are inactive because of an injury and will begin to reduce in size and strength.
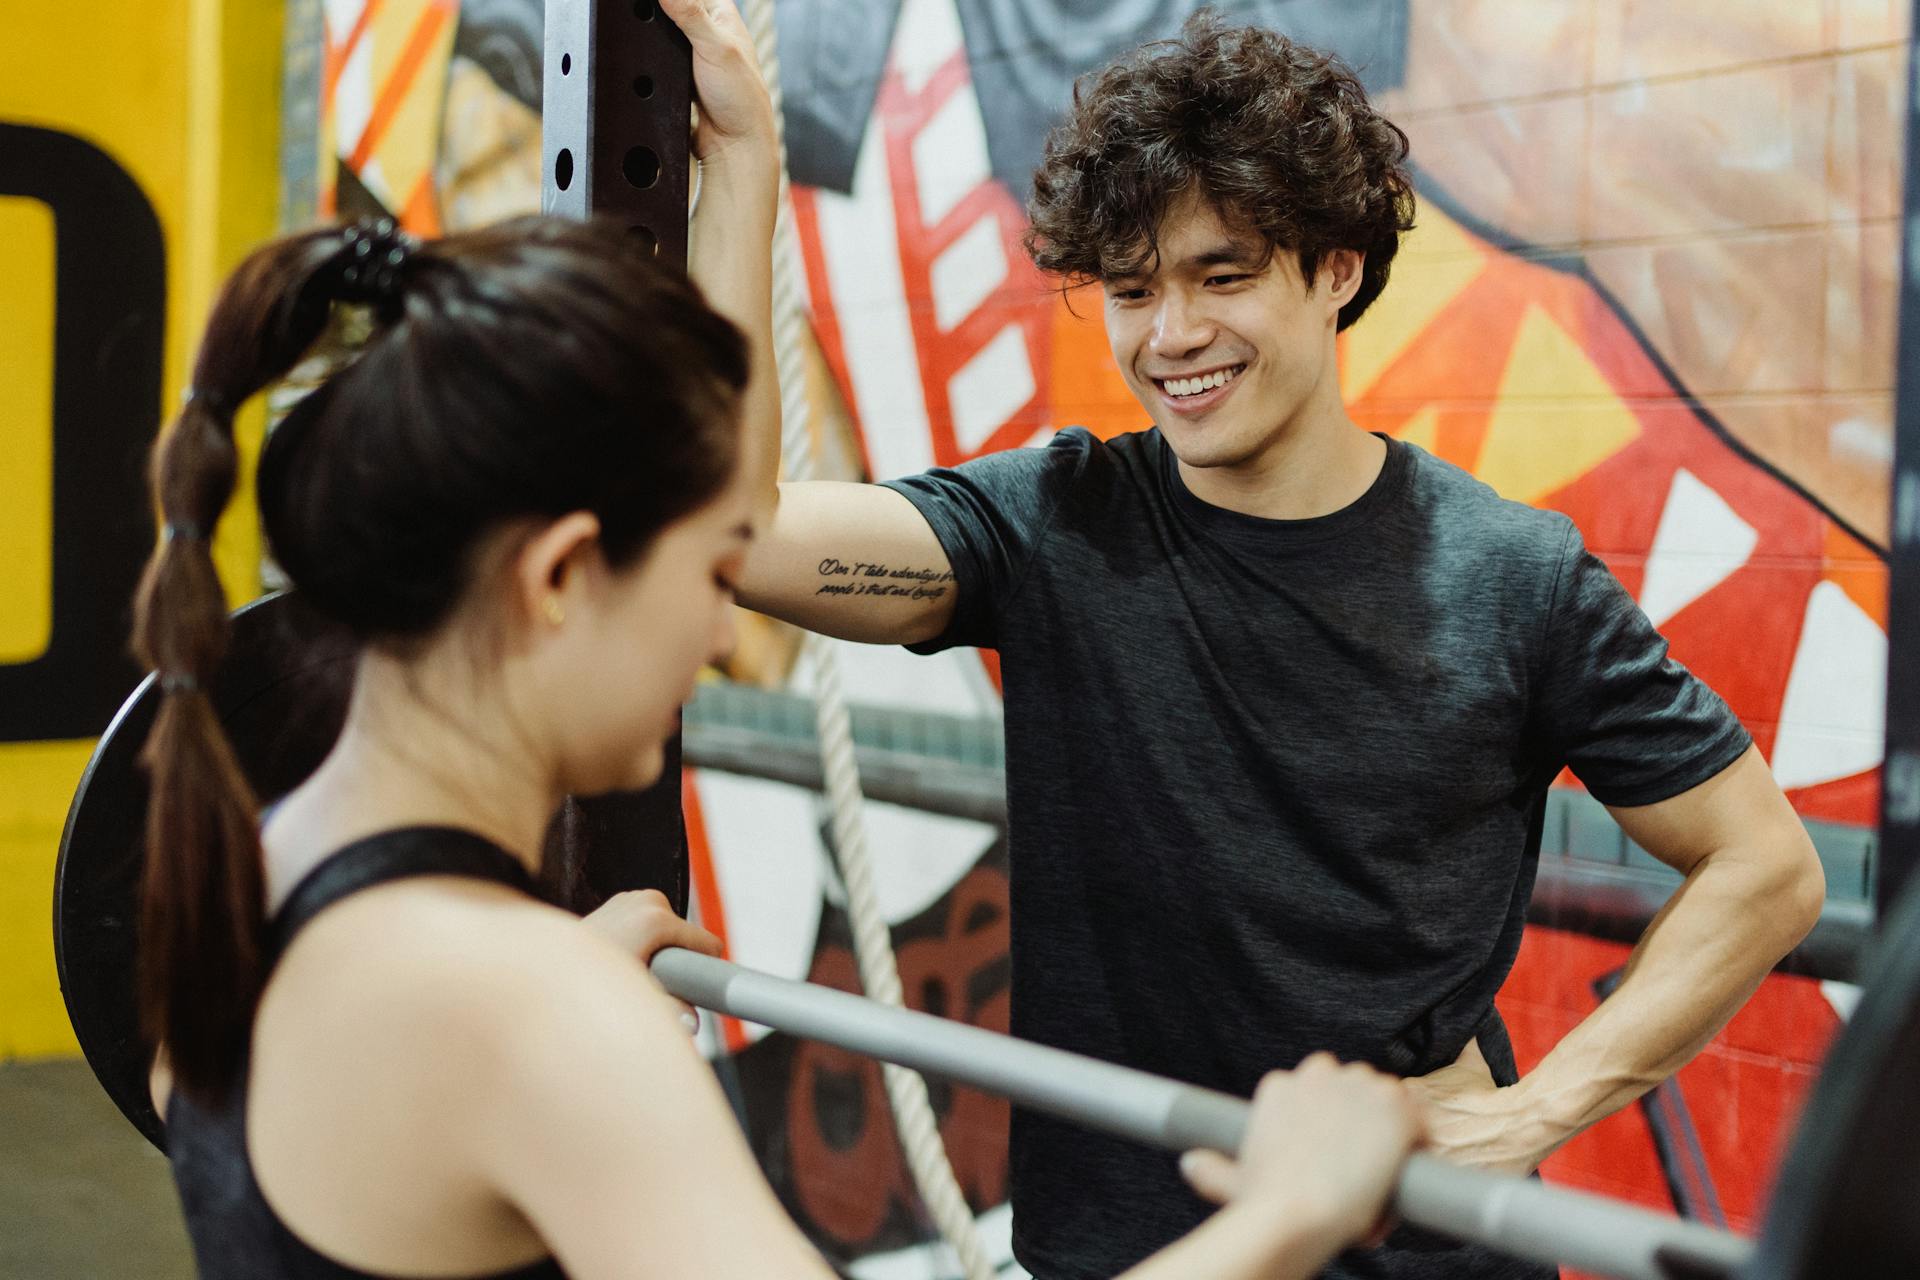
Fortunately, there are a number of different exercises your clients, and you, can perform post-rehab in order to retain strength and recover at a faster rate. In today’s post we want to break down three different weight-lifting routines that are designed for you to share with your post-rehab clients.
To start, here is one key thing to share with your clients before they start their post-rehab routine:
1. Start small. Always begin a new routine using light weights, or just your body weight and gradually build up.
2. Don’t push it. Don’t give your targeted area to much stress during your workout and don’t begin a new routine before you have been given the go ahead from your doctor.

Get Your Free Guide
Learn How to Start a Fulfilling, Impactful Career as a Holistic Health Coach
You’ll learn:
- Why holistic health matters
- If holistic health coaching is right for you
- What career opportunities exist for health coaches
- And more!
Let’s get into some helpful weight lifting routines
Lower Back Recovery
The key thing to remember during a lower back workout is proper form. When your client is lifting from the floor, bending or squatting, remind them to be conscious of their posture and always keep their core, back and abdominals, engaged. Have them bend at the hips or knees and avoid curving their back as it will cause unnecessary strain and could cause additional injury.
Have your client follow this rep and set guide for better recovery:
- Exercise Ball Bridges is a stabilization exercise that introduces unpredictable movement that must be responded to (the movement of the ball). Lay on floor with both feet propped up on the exercise ball with legs straight and arms relaxed to the sides. Find the neutral spine position and hold while slowly tightening the buttock muscle to lift the buttocks off the floor 2-3 inches.
- Dead lifts involves lifting a barbell from the ground to a standing position. The bar should get no higher then your thigh when you are in a full standing position. Keep your back straight when bending and squatting during this exercise. Bend and flex at the hips and make sure not to curve the back. The bar should always stay close to your body to get the most out of this exercise and also for safety. Start with 3 reps and light weights. Increase reps and add weight as your body feels ready.
- Squats can be done while holding dumbbells in your hands. Start with your back straight, feet planted on the ground (heels included!) shoulder length apart and knees in line with your feet. Slowly bend your knees, hips and ankles until you reach a 90 degree angle. If it seems too much to go down that far at first, listen to your body and only do what is comfortable. Breathe out as you lower your body, and in as you raise back to the starting position. Focusing your gaze on something straight ahead can help you maintain balance and the proper posture throughout the exercise. Start with 10 reps and no weights in your hands, increasing as you feel more comfortable.
- Bent over rows focus on the upper back muscles. There are many variations of this exercise so if some aspect of this is not working for your patient, there may be a better way for them to perform this exercise. The most important things to remember are to keep the core strong and engaged; keep legs shoulder width apart and keep back straight while bending over at a 45 degree angle. Lift the weights straight up and down, limiting the movement in wrists and keeping the weights shoulder width apart. Squeeze your shoulder blades together as you lift up and don’t extend the arms higher then parallel with the shoulder. Start with 3 reps and light weights. If you are using a dumbbells, repeat the same number of reps on each side.
Shoulder Injury Recovery
Have your client focus on strengthening the shoulder muscles evenly and encourage the greatest range of motion. This type of training differs slightly from other training that they may be familiar with because the goal is not to build muscle, but to increase strength and flexibility.
One key thing to remember: Have your client warm up their shoulder muscles before they start by performing a few reps without weights
Have your client follow this rep and set guide for better recovery:
- Arm circles loosen up and stretch your shoulders increasing your range of motion. Start with 20 rotations.
- Overhead dumbbell presses is strength training for your shoulders. You start with arms bent towards the ceiling and dumbbells in hand at shoulder level. Press up the dumbbells up and arms into a raised position above your head. Start with light weights and reps of 15.
- Side lateral raises begin with arms to the side and dumbbells in hand. Lift arms upwards so that they are parallel to the floor, with the elbow slightly bent and hands tilted forward. Pause and then slowly lower back to your sides. Start with no weights or light weights and reps of 15.
- Reverse flys are done lying down on an inclined work bench. Extend your arms out in front of you, with dumbbells in hand. Use the balls of your feet for balance and slightly bend the shoulders. Lift your arms out to the sides, pressing your shoulder blades together, until they are parallel to the floor. Pause and slowly lower the weights to the start position. Start with light weights or no weights and reps of 10.
- Lying rear delt raises are reverse flys done lying down on a flat bench. With arms down to your sides and elbows slightly bent, lift the dumbbells until they are parallel to your shoulders, pause and slowly lower. This exercise can also be done one arm at a time while the other arm faces back, away from your torso. Start with light weights and reps of 15.
- External rotation helps increase your shoulders range of motion. Start by laying on your side on the bench. Hold a dumbbell in one hand and use the other to hold into the bench and create stability during this exercise. The arm holding the weight should be kept at a 90 degree angle. Keep the upper arm in line with the torso while you lift your forearm up in a semicircular movement while keeping the 90 degree angle bend in your arm. Continue until forearm is perpendicular to the floor and torso is pointing towards the ceiling. Pause and slowly return to the starting position. In this exercise it is very important to use light weights as serious injury can occur if you are lifting too much. Start with reps of 10, and repeat on both sides of your body.
- Cable internal rotations start sitting down with legs crossed or straight out in front of the body. Position yourself next to a low pulley sideways. Keep your elbow against the side of your body with the arm bent at a 90 degree angle and your forearm extending out to hold the pulley. Pull the pulley towards you until your forearm extends across your torso. Hold for a minute and slowly release. Do not use heavy weights for this exercise as injuries can occur. Start with reps of 15, and repeat on both sides of your body.
- Cuban presses can be done with dumbbells or a barbell. Start with your arms extended down, next to your thighs. Raise them up so that your upper arm is parallel to the floor, your forearms are facing down and you arms are bent at a 90 degree angle. Keeping the 90 degree angle, rotate your forearms so they are facing upward, then press up extending your arms towards the ceiling. Pause, then reverse these steps to return to the starting position. Start with 15 reps and light weights.
Hip Strengthening
Weak hips can be caused by running, when the hips are not strong enough to support the body during a run, other muscles pick up the slack. As a result, knee and lower-leg injury can occur. This hip strengthening routine is perfect for post-injury and can even be a great exercise to prevent injury from happening in the first place.
This routine involves the use of a theraband. Have your client start with a low or medium resistance theraband and work up.
Have your client follow this rep and set guide for better recovery:
- Lateral leg raises start with lying on the side and a theraband around the ankles. Lift legs to a 45 degree angle, lower and repeat. Start with 10 reps and gradually increase as you feel comfortable.
- Clam shells start with lying on the side, knees together, legs bent at a 90 degree angle. Place a theraband around the lower thighs. Open and close legs to a 45 degree angle without moving the pelvis. Start with 10 reps and gradually increase as you feel comfortable.
- Hip thrusts start lying on the back, knees bend and body weight being supported with upper back and feet. Lifting one leg at a time, lower your butt almost to the ground and then thrust upward. Start with 15 reps and alternate which leg is raised.
- Pistol squats are 1 legged squats. Remember to keep your back straight, and supporting leg stable so it does not collapse inward. Start with 5 reps on each side. Squat slowly to maintain balance.
- Hip hikes starts balanced on one foot. Start by balancing on your right foot and your hip bones even. Drop the left hip below the right pelvic bone then using the strength in your right hip pull it back to the starting level. Start with 10 reps on each side.
- Iron cross is an exercise that will help loosen your body up after previous exercises. Start lying on the back with arms out to the sides. Swing right leg up and over the torso towards the left hand. Repeat with the left leg. Start with 10 reps on each side.
As with any workout, don’t push your client too hard, especially during recovery. If your client does too much too soon they can risk setting themselves back with further injury. The most important thing to do is to listen to their needs and have them tune into how each exercise makes them feel during and after the workout.
If you found this post valuable, or you’re interested in becoming certified as a Post Rehab Exercise Specialist, visit our website and subscribe to our blog for future articles and new workout ideas!